

We have been learning about butterflies and moths this week in science. I usually try to tie in our art projects with our science or geography, so I thought it would be neat to talk about a butterfly's symmetry and make a pretty art project to go along with it. We actually did this project in two ways.

The first time, I gave the kids a sheet of heavyweight drawing paper and had them fold it in half and crease it. Then I told them to draw the outline of a butterfly on one side of the crease.

Next I told them to paint the half of the outline that they drew. I told them to make the paint thick, not thin!

Then they folded the paper on the crease over the side they painted and pushed down hard. They didn't rub, they just pressed down.

When they opened the paper, they had a pretty and symmetrical butterfly! The thicker the paint was, the better the project worked.


Next we took another sheet of the heavyweight paper and folded it again and creased it. Then we squirted paint on one half of the paper.
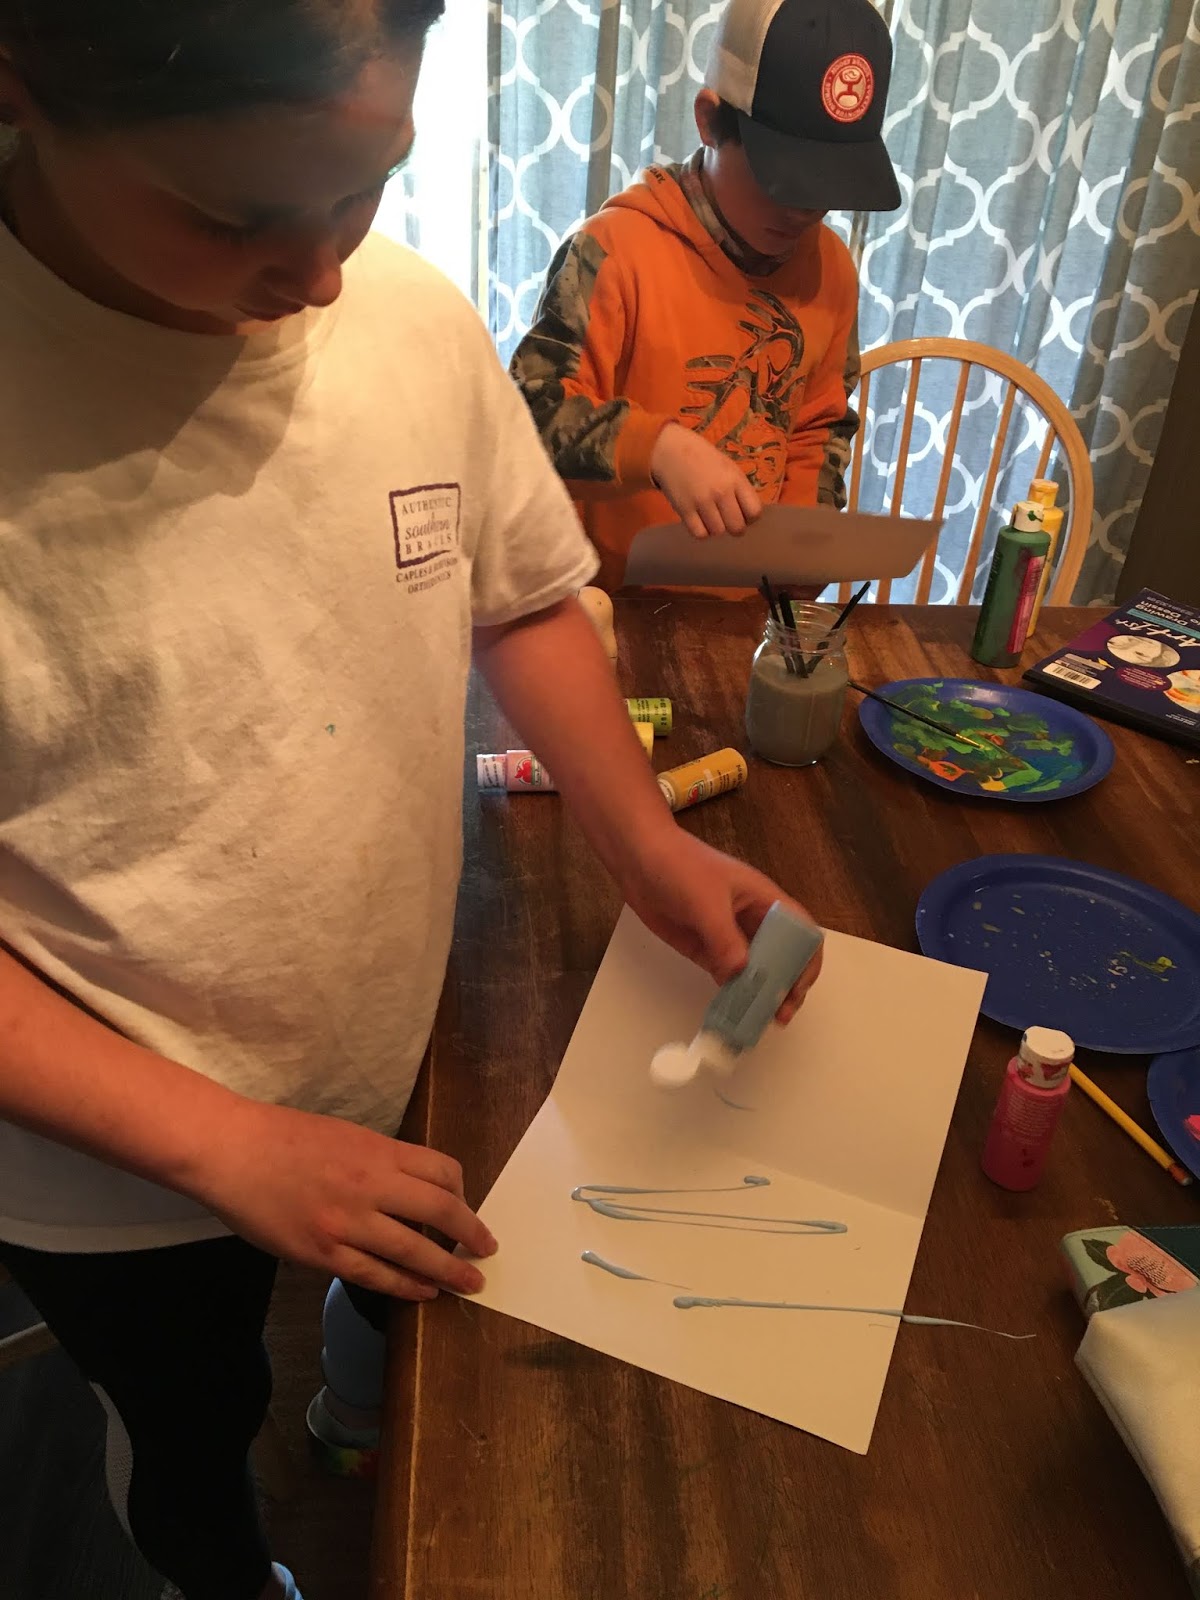

We then folded the paper on the crease and rubbed the paper with our fists and hands.

When we unfolded the paper we had beautiful symmetrical butterflies again! The kids liked these butterflies more than the first ones, but I think they were all pretty. I plan to frame them!


Check out our other art projects from my 100 Days of Art Challenge!
Linking up with


An awesome way to talk about butterflies and symmetry. I don't think we've done this before (that I can remember at least).
ReplyDeleteI don't see how the second got you butterflies again, it's just the same design on two sides of a paper. If you had cut them out into butterfly shapes I could see it better I suppose. But I agree. I liked the patterns that came out the second time more. :)
ReplyDelete