Showing posts with label arts and crafts. Show all posts

Sunday, January 7, 2024

Picture Books and Crafts: Backyard Bugs & Fingerprint Bugs

I started a series last year called "Preschool Picture Books and Art", but I wanted to start it back up again. I renamed it Picture Books and Crafts since Zeke is no longer in preschool, and our projects are more crafty than artsy. 

We started this cold, rainy weekend with a book from one of our favorite series, "Hello World!" 

Backyard Bugs is a fun board book with simple text and more details for older kids who want them. We read through the book and then went through page by page and made a page full of fingerprint insects!


Zeke did this entire project by himself! I did have a sheet where I would demonstrate what to do, and then he did it on his own. Here is a close-up and description of each bug that we created.


Worm - Zeke used his entire finger for a worm-print. He used yellow ink like in the book and added orange stripes with a marker. We didn't add any eyes since there were none in the book.


Caterpillar - Again Zeke used an entire finger print with yellow ink. He added feet, antenna, and stripes.


Butterfly - Zeke used four orange finger prints for wings, and then added antennae and decorated the wings with a black marker.


Ant - Zeke used brown ink and three finger prints. Then he drew six legs, two antenna, and two eyes.


Ladybug - Zeke made a red thumbprint and then added black dots, antenna, and six legs. 


Cricket - Zeke used brown ink and added legs and antenna.


Grasshopper - Zeke used green ink and made a long body. Then he used a black marker to make legs and antenna.


Spider - Zeke used brown ink for the spider's body and then added eight legs and a mouth.


Dragonfly - Zeke used two pink finger prints and then added four wings with a black marker.


Bumble Bee - Zeke used a yellow finger print, then he drew black stripes, wings, and a head.

This was such a fun little project, and Zeke thought his fingerprint bugs turned out so cute! You could do this with any book on bugs, but the cartoon illustrations made it easier for Zeke to visualize how his bugs should look. 

Have you done this before? Click the image below to see our other projects!


Thursday, March 19, 2020

100 Days of Art: African Beads (Day 15)

In our Expedition Earth curriculum, we "traveled" to Kenya this week. One of our craft projects was to make our own African beads, since Kenyans do a lot of bead work. I know these aren't really authentic, but the kids had a great time making them!
We used polymer clay for this project. The kids chose two or three colors and tore off small pieces of the clay.

They then flattened them out and layered them, then flattened them out again.

Next they rolled the clay longways like a snake.

They then tore off chunks of that roll and then rolled them in the palm of their hands to make balls.

We then used wooden dowels and the plastic tools that came with the clay to poke holes all the way through the beads.

We baked them at 240 degrees for about 20 minutes. Once they hardened, they strung them on string!

I love the marble effect they have. Mercie made hers to look like earths. The boys used random color combinations but they all turned out beautiful!


Check out our other projects in my 100 Days of Art Challenge!

Wednesday, February 12, 2020

100 Days of Art: Symmetrical Butterflies (day 10)


We have been learning about butterflies and moths this week in science. I usually try to tie in our art projects with our science or geography, so I thought it would be neat to talk about a butterfly's symmetry and make a pretty art project to go along with it. We actually did this project in two ways.

The first time, I gave the kids a sheet of heavyweight drawing paper and had them fold it in half and crease it. Then I told them to draw the outline of a butterfly on one side of the crease.
Next I told them to paint the half of the outline that they drew. I told them to make the paint thick, not thin!
Then they folded the paper on the crease over the side they painted and pushed down hard. They didn't rub, they just pressed down.
When they opened the paper, they had a pretty and symmetrical butterfly! The thicker the paint was, the better the project worked.


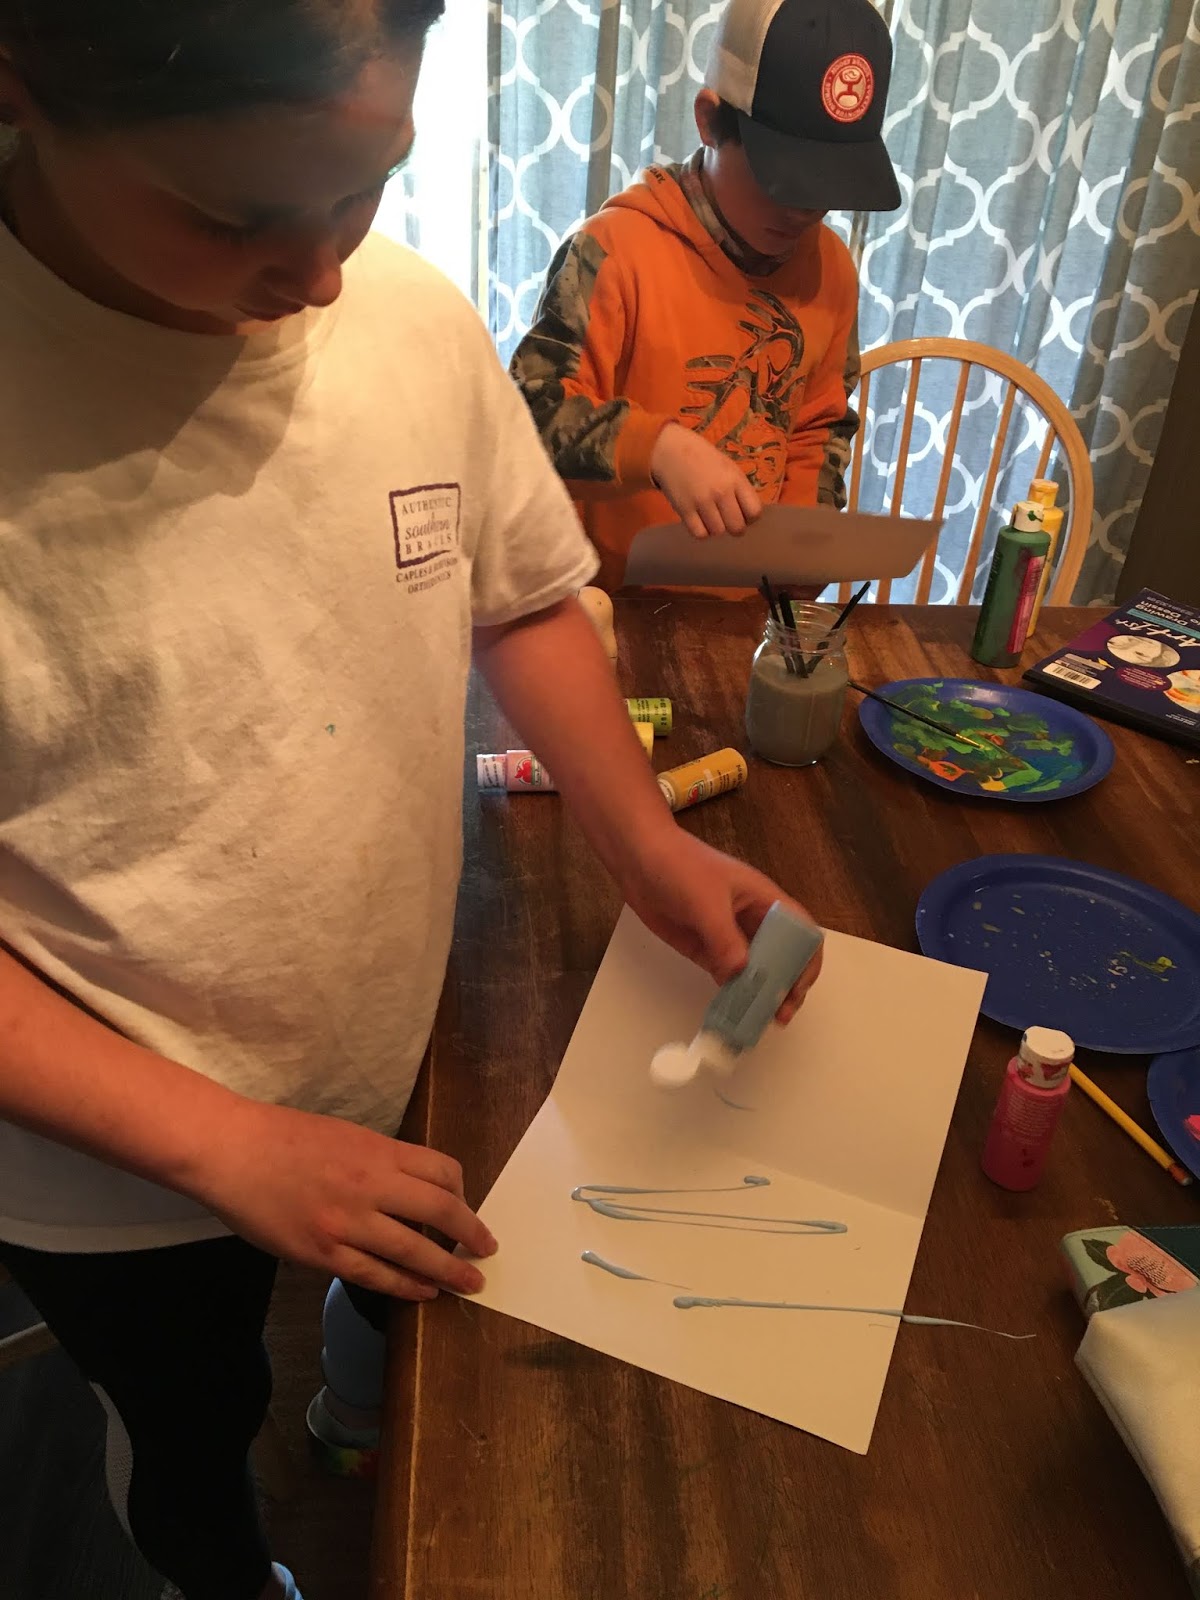
Next we took another sheet of the heavyweight paper and folded it again and creased it. Then we squirted paint on one half of the paper.
 
 
We then folded the paper on the crease and rubbed the paper with our fists and hands.
 
When we unfolded the paper we had beautiful symmetrical butterflies again! The kids liked these butterflies more than the first ones, but I think they were all pretty. I plan to frame them!


Check out our other art projects from my 100 Days of Art Challenge!


Linking up with

February Homeschool Round UP {Homeschool Collection}

Wednesday, February 5, 2020

100 Days of Art:Day 9 Model Insects

I wanted to bring back my 100 Days of Art challenge. I only got to 6 out of 100! That's a long way to go. I added our Llama Valentine Box and our Minecraft Valentine Box for 7 and 8. This is number 9!

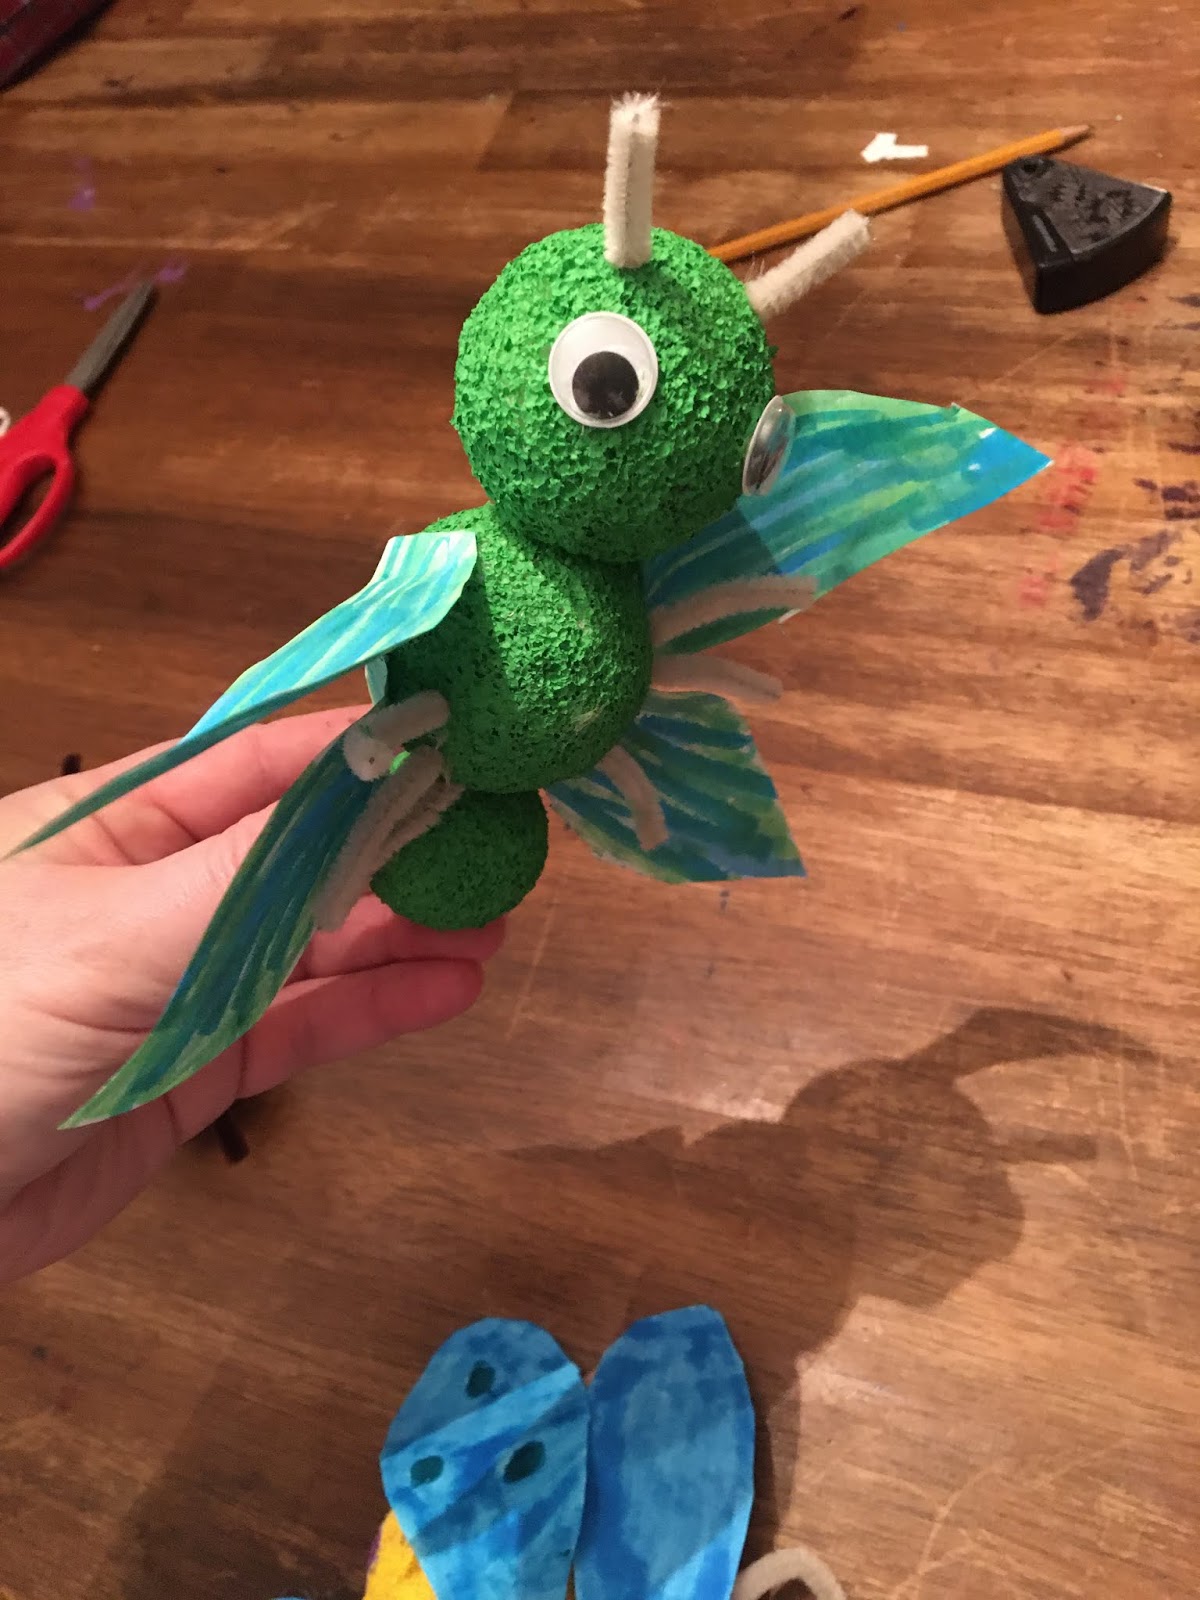
We just started learning about invertebrates in science. Arthropods are our first group, and insects are our first sub-group. We made model insects today and they turned out very cute. Obviously, they are not 100% anatomically correct, but the kids did their best.

Mercie made a dragonfly.

Silas made a bee.

Titus made a butterfly.
We just used small Styrofoam balls for the body segments. I had a bag of assorted sizes, which is why some of the insects have different sized segments. We painted them and added pipe-cleaner legs and antennae, eyes, and wings. Now the kids have to do a report on their insect!


Check out our other art projects:


Tuesday, February 4, 2020

How to Make a Minecraft Creeper Valentine Box

 
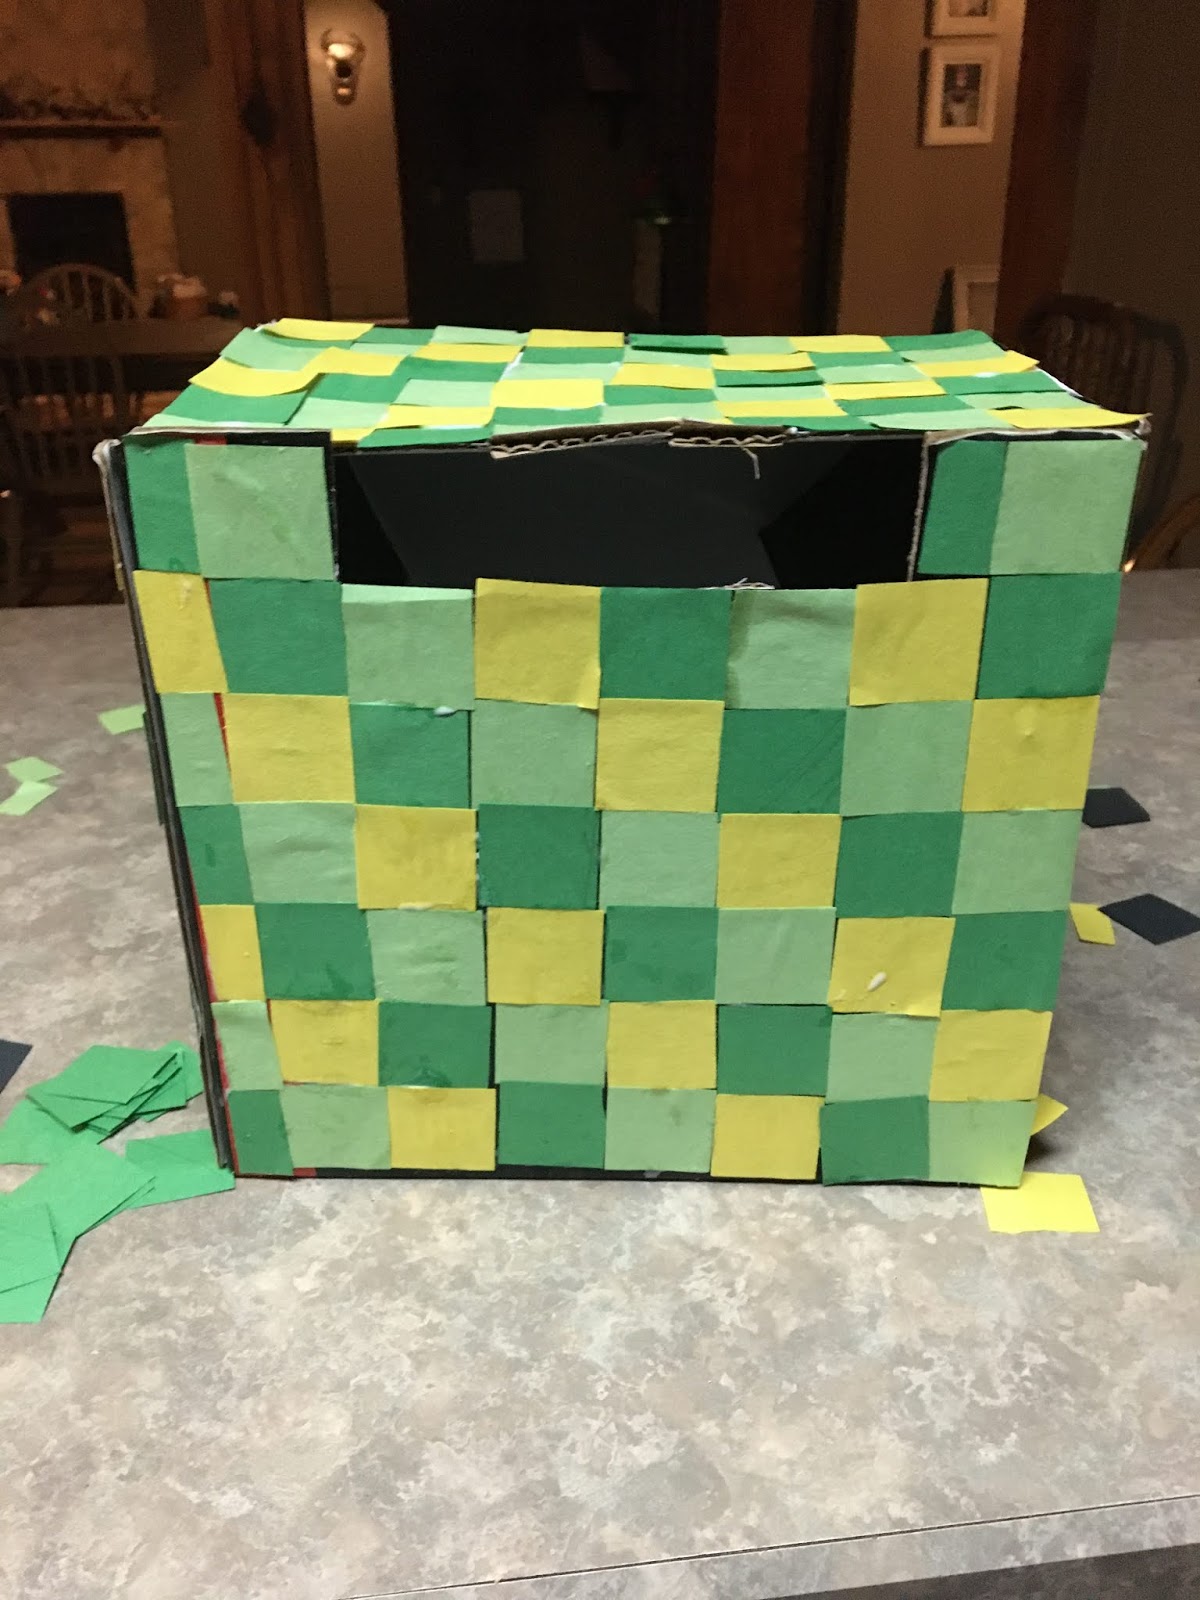
My 7 year old son, Titus, wanted to make a Minecraft creeper Valentine box for our homeschool group Valentine party and contest. This box was super easy, but a little time consuming. Titus hung in there, though, and finished it in one evening. He wanted to do everything by himself, and he did. The only thing I did was put the glue on for him one row at a time.
 
You will need:
a nice sized box
yellow, light green, dark green, and black construction paper
a square paper punch (or scissors)
white glue
 
STEP ONE:
Using the square paper punch, punch out lots of squares of the yellow and green paper. You will only need about 7 of the black squares. Titus punched out 80% of these squares. I only punched them out when we realized we needed more and he was busy gluing.
 
 
STEP TWO:
Cut a rectangular shaped hole in the top of the box. We cut the hole where the box flap inserted. This is so your friends can put valentine cards in your box! (I didn't get a picture of the hole before we glued the squares on - oh well!)
 
STEP THREE:
Glue the squares to the box in a pattern - dark green, light green, yellow is the pattern we used. Make sure you alternate each row. I put the glue on one row at a time to simplify it for Titus. He did a great job making sure the squares were pretty straight.


STEP FOUR:
After you finish gluing the squares to the sides and top of the box, you will need to make the creeper's face. We used seven squares and glued them in the pattern you see below.
 
STEP FIVE:
Enjoy your Minecraft Creeper Valentine Box!